
NCHS-D - Mode Exchange (Branch Box) Installation Manual - NCHSD-01-A Installation Manual Mode Exchange Box
⚠️ Safety Notice – Reverse Cycle Air Conditioners
This equipment must only be installed, commissioned, serviced and repaired by suitably qualified and licensed personnel.
Before commencing work, complete a task-specific risk assessment and ensure electrical isolation procedures, safe access, adequate service clearances and appropriate PPE have been considered. All work must comply with applicable regulations, standards and manufacturer requirements.
Particular care must be taken when working around electrical systems, refrigerant circuits, moving parts, roof spaces, ceiling spaces, confined spaces and working-at-heights hazards where applicable.
Do not proceed if safe access, required clearances, confined space risks or appropriate safety controls cannot be achieved and maintained.
Safety takes priority over diagnosis, repairs, installation schedules and customer expectations. If the task cannot be completed safely, it must not proceed until the risks have been adequately controlled.
Pdf attached
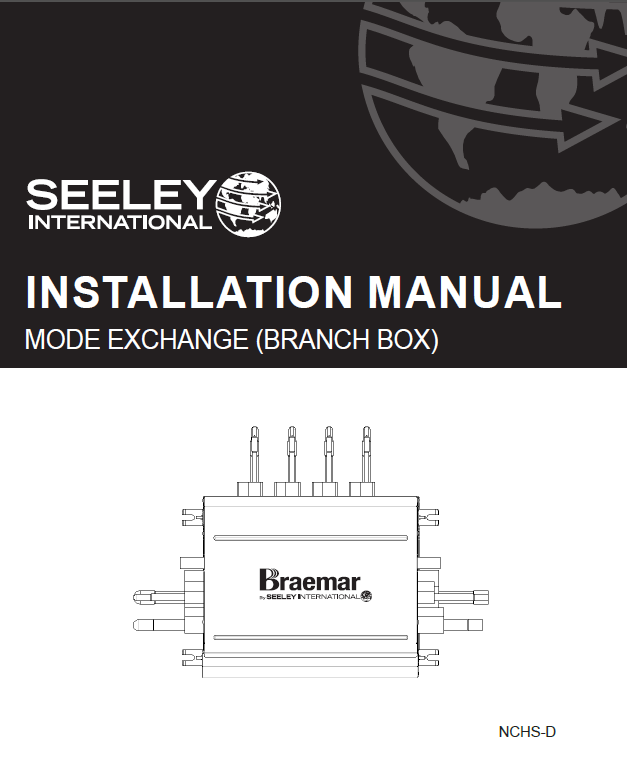
Installing the NCHSD Mode Exchange Box (VRF Accessory)
Overview
The Mode Exchange Box is a key component in a VRF Heat Recovery system, allowing simultaneous heating and cooling in different zones. It acts as a refrigerant distributor, intelligently routing refrigerant between indoor and outdoor units.
Safety Notices
Before installation:
- Only qualified technicians should install this unit.
- Ensure proper grounding and power supply (220–240V ~50/60Hz).
- Do not install in bedrooms, meeting rooms, or areas sensitive to noise.
- Avoid corrosive environments and ensure proper drainage.
Product Models & Capacity
| Model | Branches | Max Indoor Units | Max Capacity (kW) |
|---|---|---|---|
| NCHS1D | 1 | 8 | 18 |
| NCHS2D | 2 | 16 | 28 |
| NCHS4D | 4 | 32 | 45 |
| NCHS8D | 8 | 64 | 85 |
Only compatible with VRF Heat Recovery units (MCRX*D3B)
Installation Steps
1. Preparation
- Use provided accessories (nuts, washers, silencers, cable ties, etc.).
- Choose a location with good ventilation and minimal noise impact.
- Ensure structural support for hanging the unit.
2. Mounting
- Use the installation template to drill holes.
- Suspend the unit using M10 bolts and washers.
- Ensure the unit is level and slightly slanted for drainage.
3. Pipe Connections
- Follow welding instructions carefully.
- Use nitrogen during welding to prevent oxidation.
- Insulate all pipes properly to prevent condensation.
4. Drainage Setup
- Use PVC pipes with a 1–2% downward slope.
- Install traps and support brackets every 1–1.5 meters.
- Test drainage with 1L of water before sealing.
5. Electrical & Communication Wiring
- Connect power to terminals L, N, and ground.
- Use shielded twisted pair wires for communication.
- Add matched resistance on the last Mode Exchange Box for reliable communication.
Routine Maintenance
- Clean with a soft cloth and neutral detergent.
- Check filters, wiring, and grounding before seasonal use.
- Run fan mode before storage to dry internal components.
Troubleshooting Tips
| Issue | Possible Cause |
|---|---|
| Unit won’t start | No power, tripped breaker, low voltage |
| Poor cooling | Dirty filter, open windows, refrigerant leak |
| Poor heating | Low temp setting, refrigerant leak, sensor issues |